Getting Started with Nehanda
Nehanda v1 is a specialized 7B parameter language model fine-tuned for intelligence assessment, signal detection, and global systems analysis. There are two ways to run it: locally using LM Studio or in the cloud using Hugging Face Inference Endpoints.
This guide walks you through both options, starting with getting access to the model.
Prerequisites
- A Hugging Face account
- Whitelist access to the Nehanda model (see Step 1)
- For local use: LM Studio installed on your machine
- For cloud use: A Hugging Face account with billing enabled
Step 1: Request Access
Nehanda v1 is a gated model. You need whitelist access before you can download or deploy it.
- Visit the model page at asoba/nehanda-v1-7b on Hugging Face.
- Request Whitelist Access using the Google Form.
- Once approved, you will be able to download the model weights or deploy to an inference endpoint.
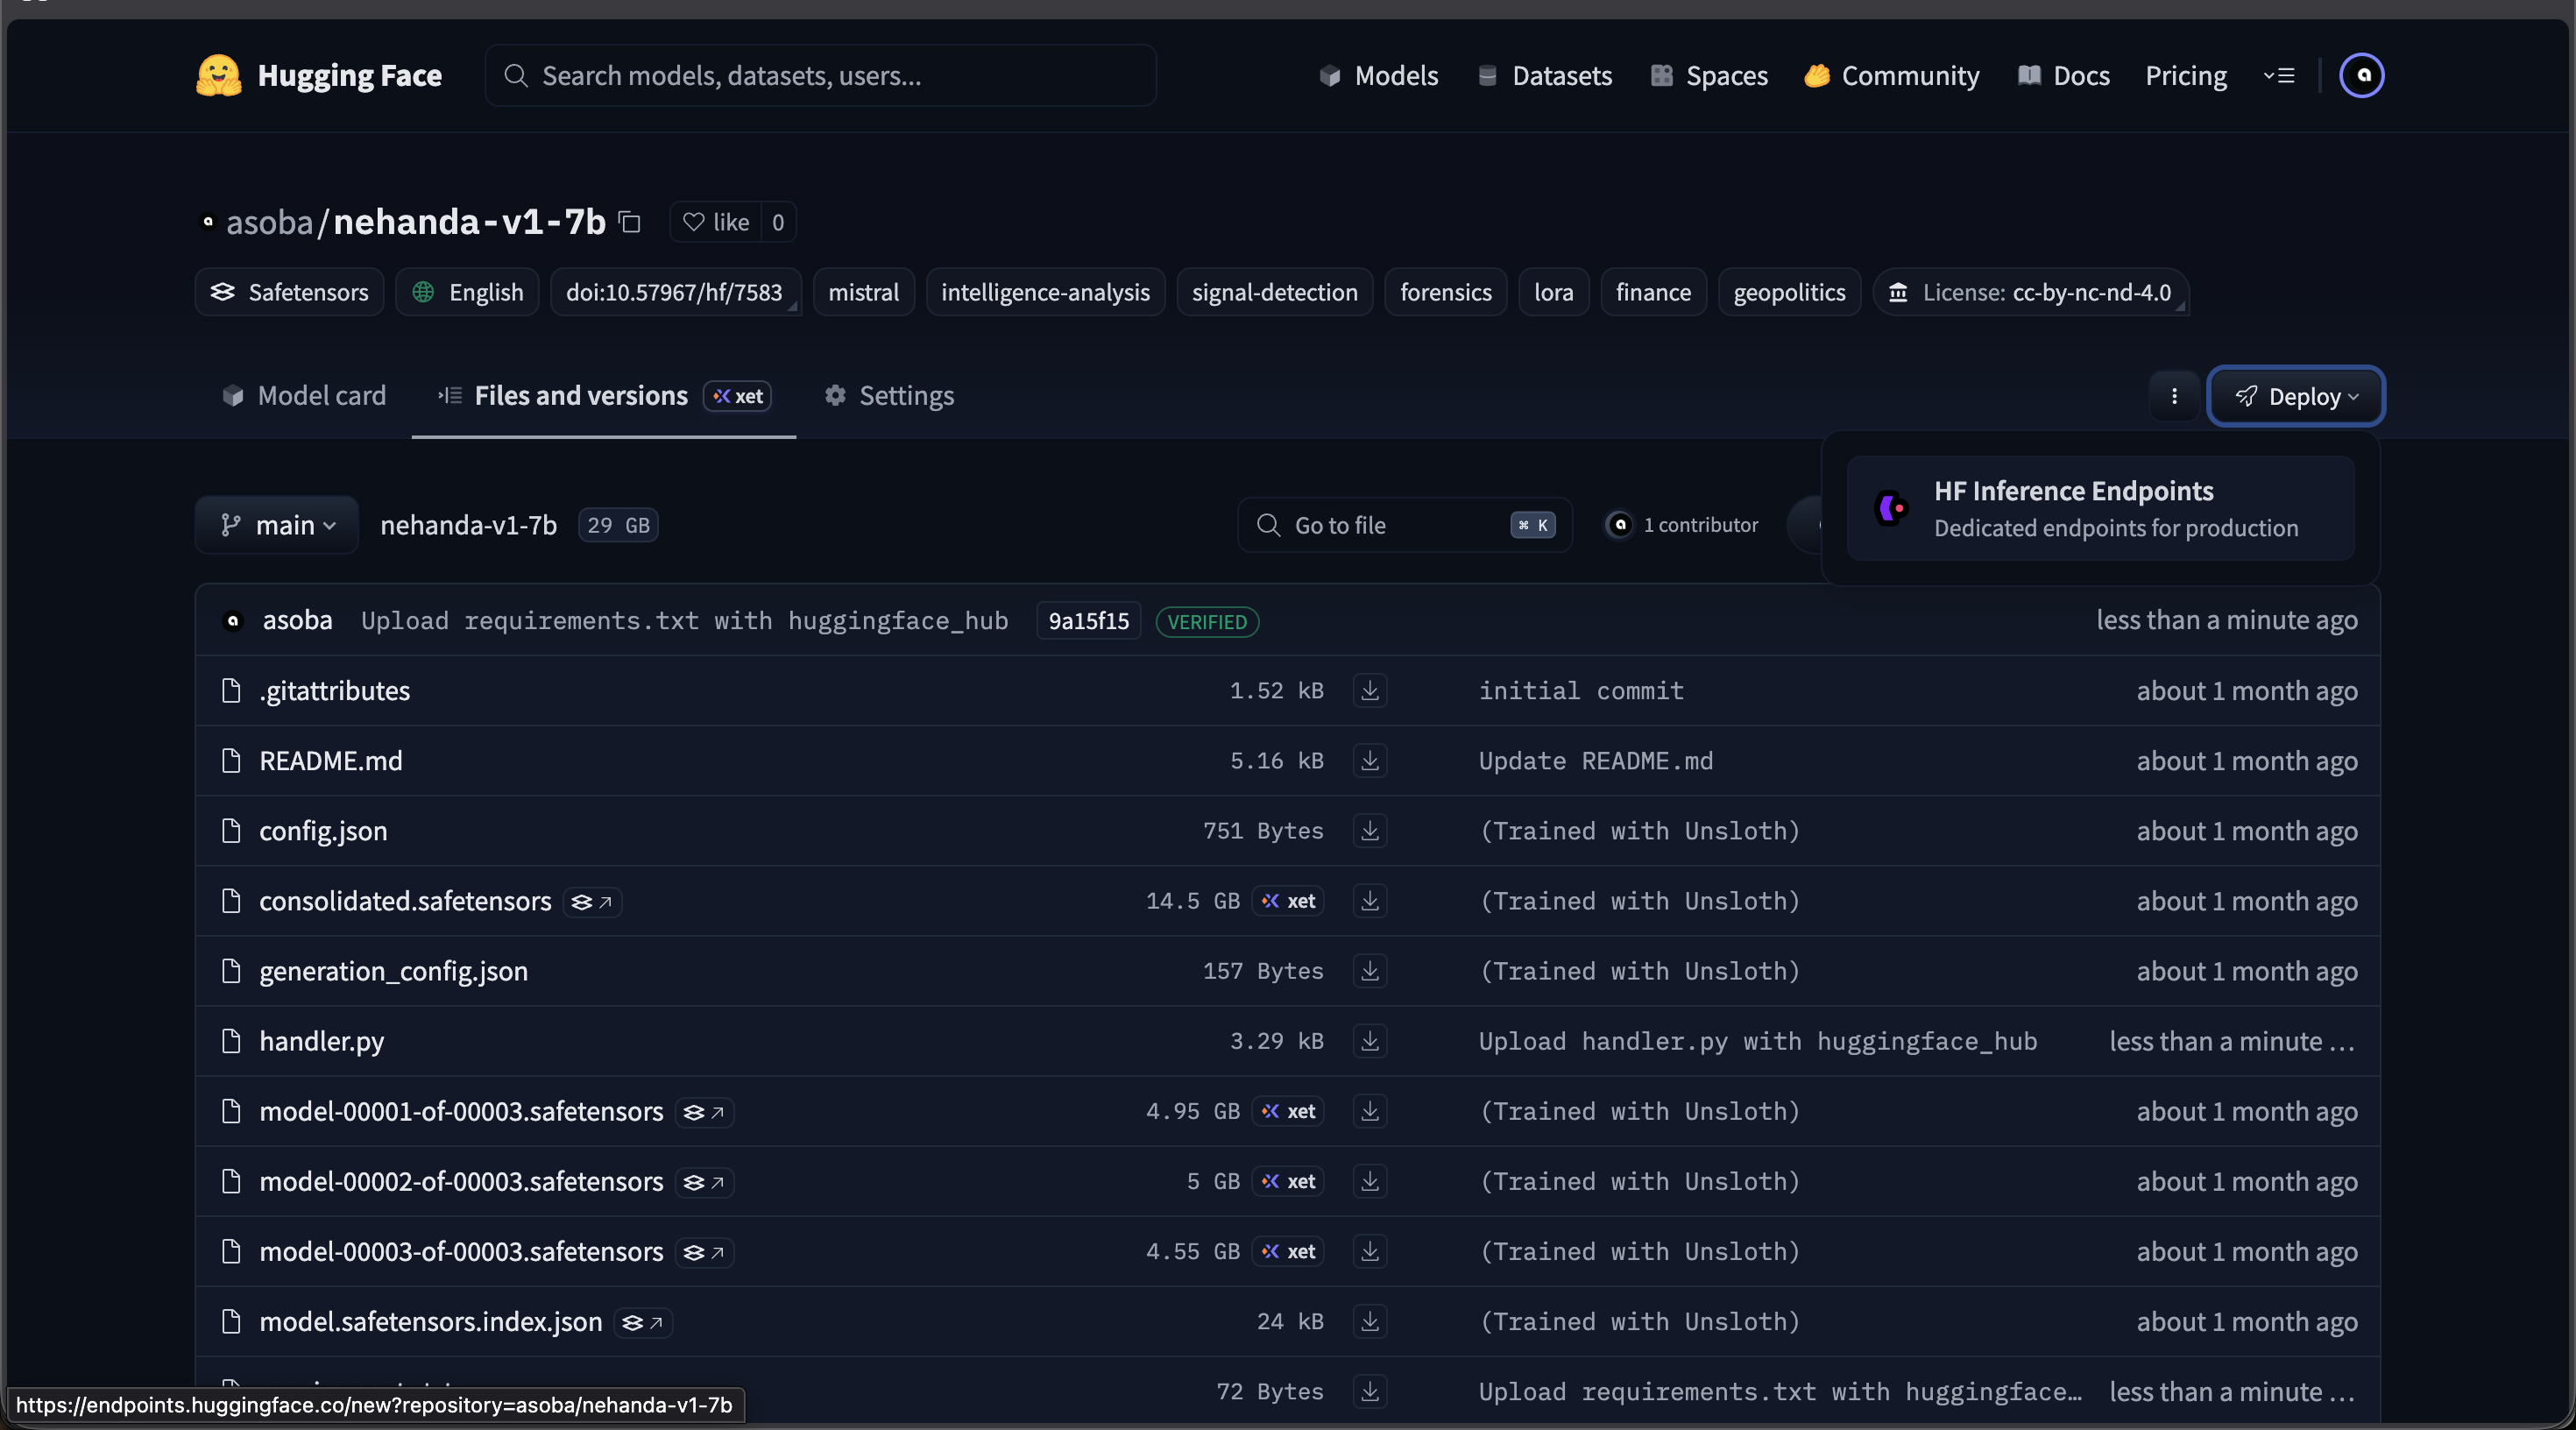
The Nehanda v1 model page on Hugging Face — click Deploy > Inference Endpoints to deploy to the cloud
Option A: Run Locally with LM Studio
For local inference on your own hardware. This uses the GGUF quantized version of Nehanda (~4.4 GB), which runs on most machines with a modern GPU or Apple Silicon.
Download the Model
- Open LM Studio and go to My Models.
- Search for
nehandain the search bar. - Select asoba/nehanda-v1-7b-GGUF from the results.
- Download the Q4_K_M quantization (4.37 GB). This is the recommended quantization for the best balance of quality and performance.
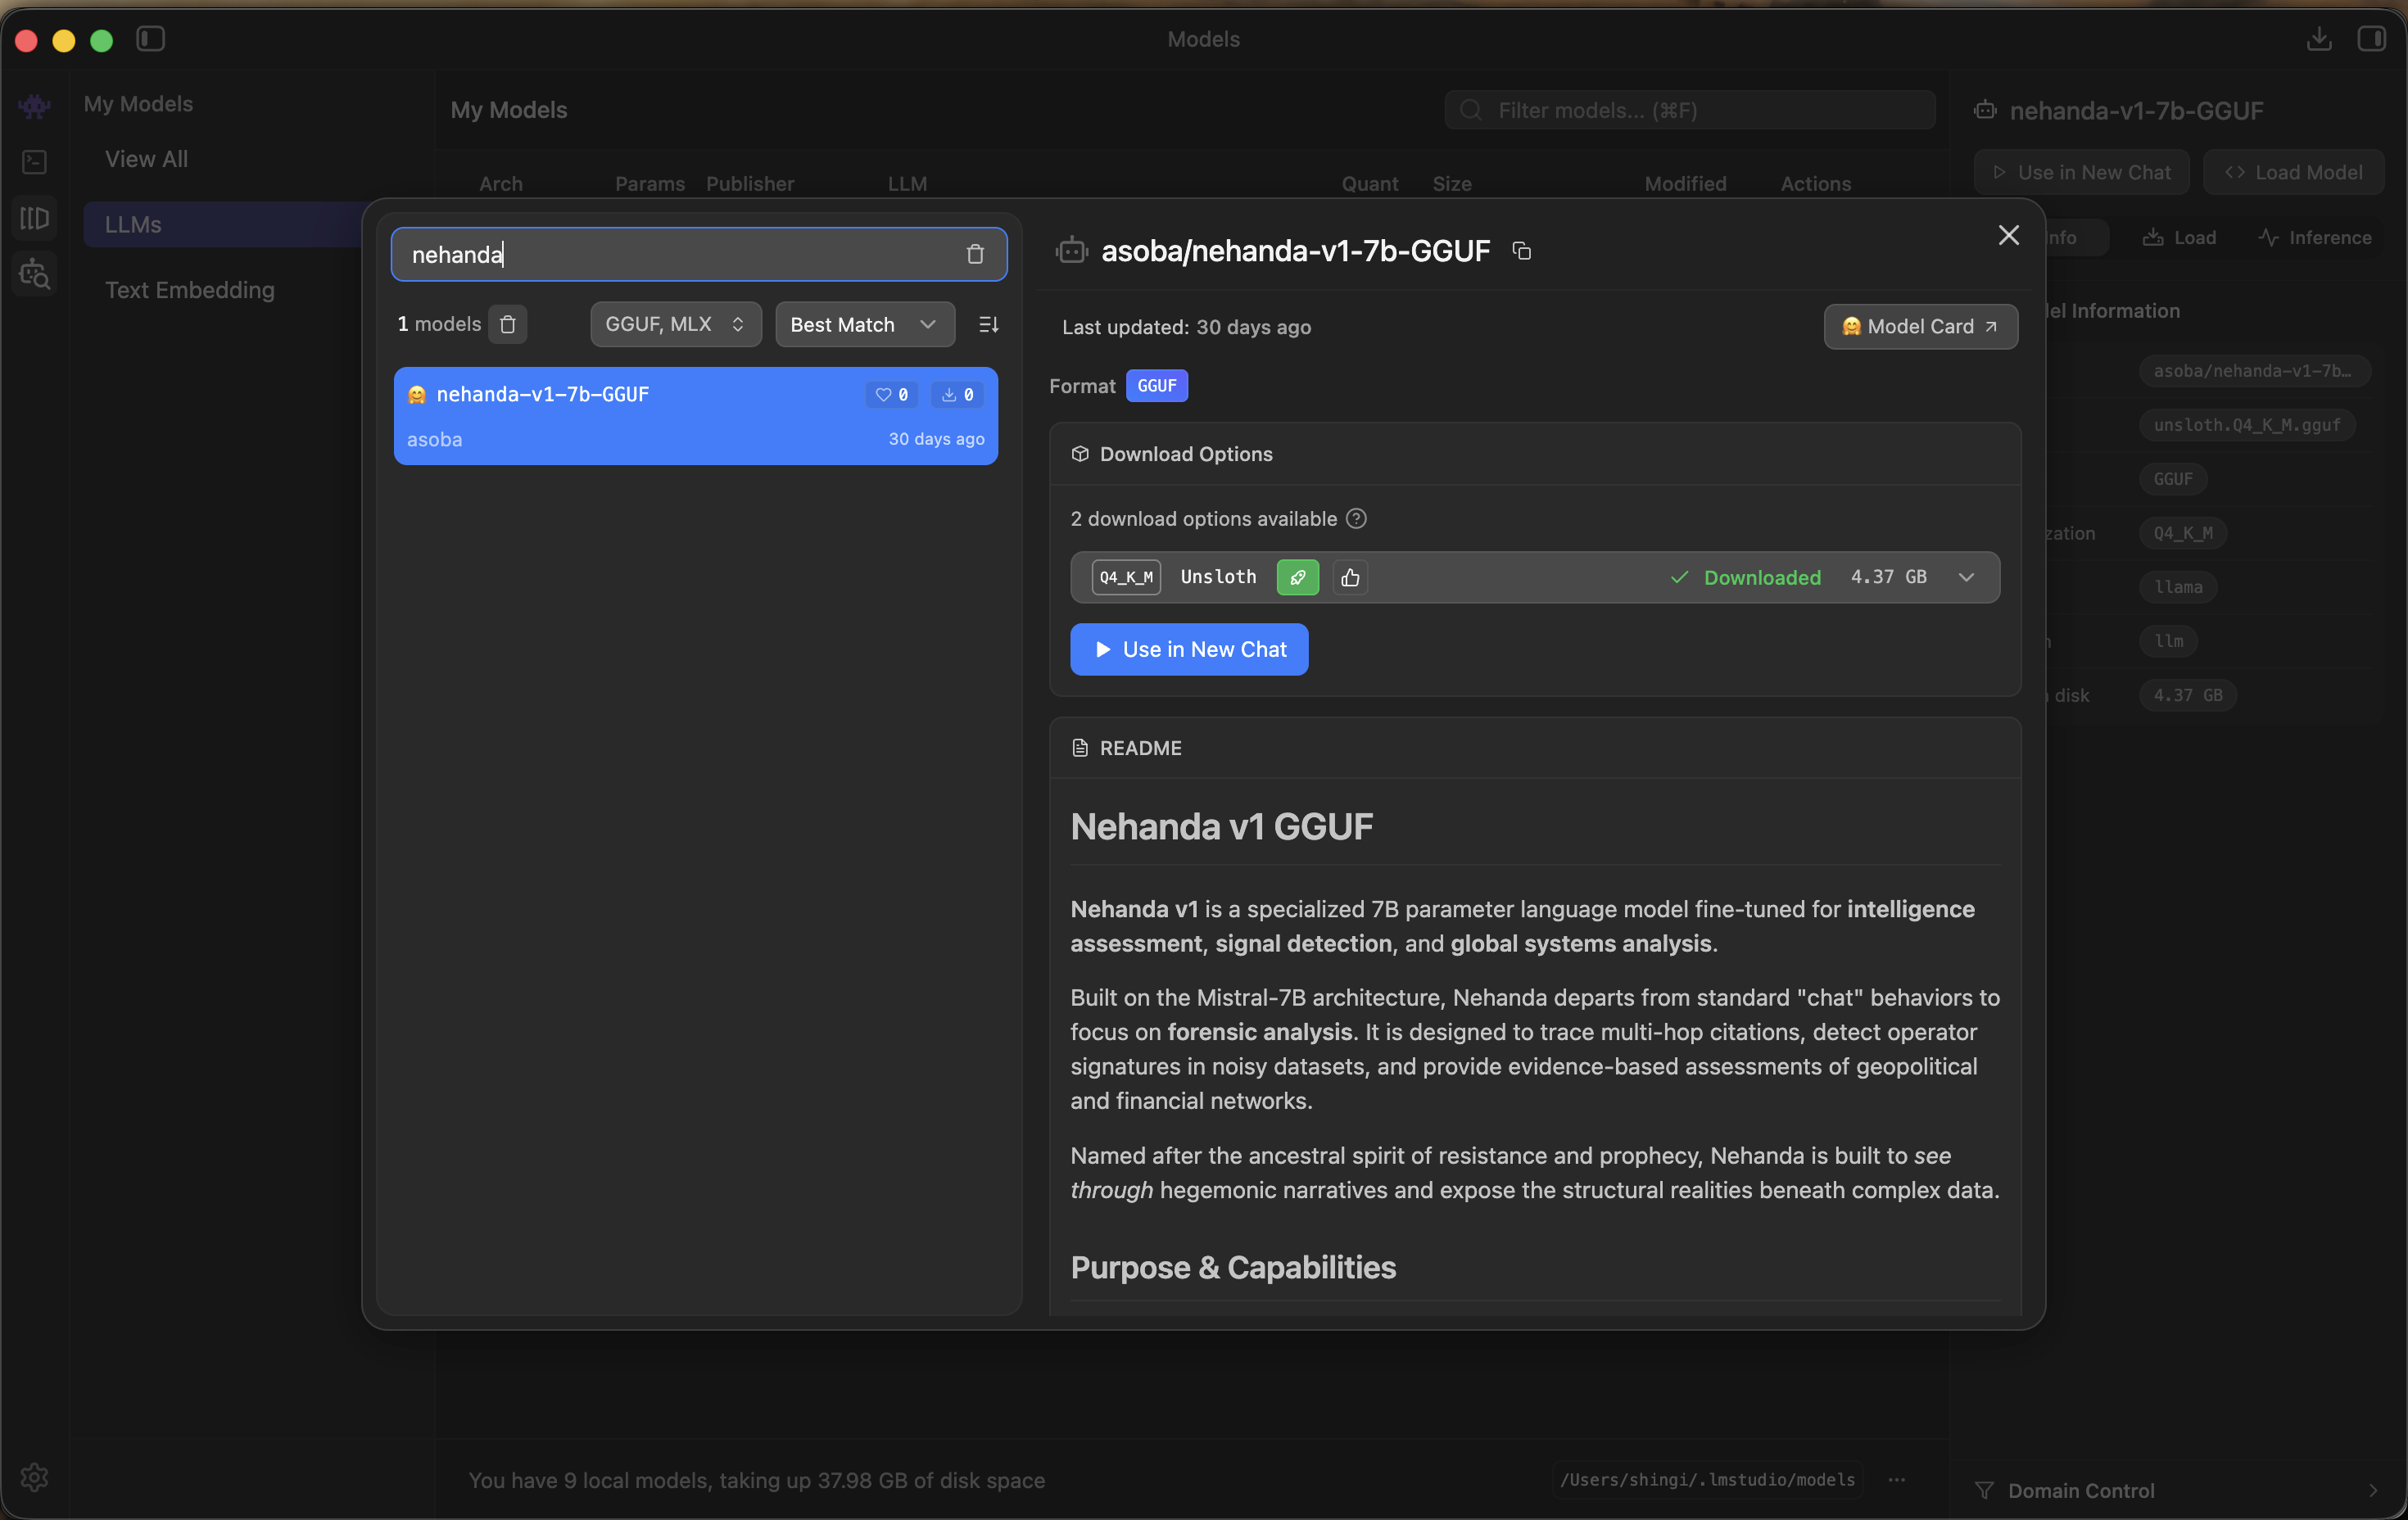
The Nehanda v1 GGUF model in LM Studio — select Q4_K_M for the best quality/performance balance
Load the Model
- Once downloaded, Nehanda will appear in your My Models list.
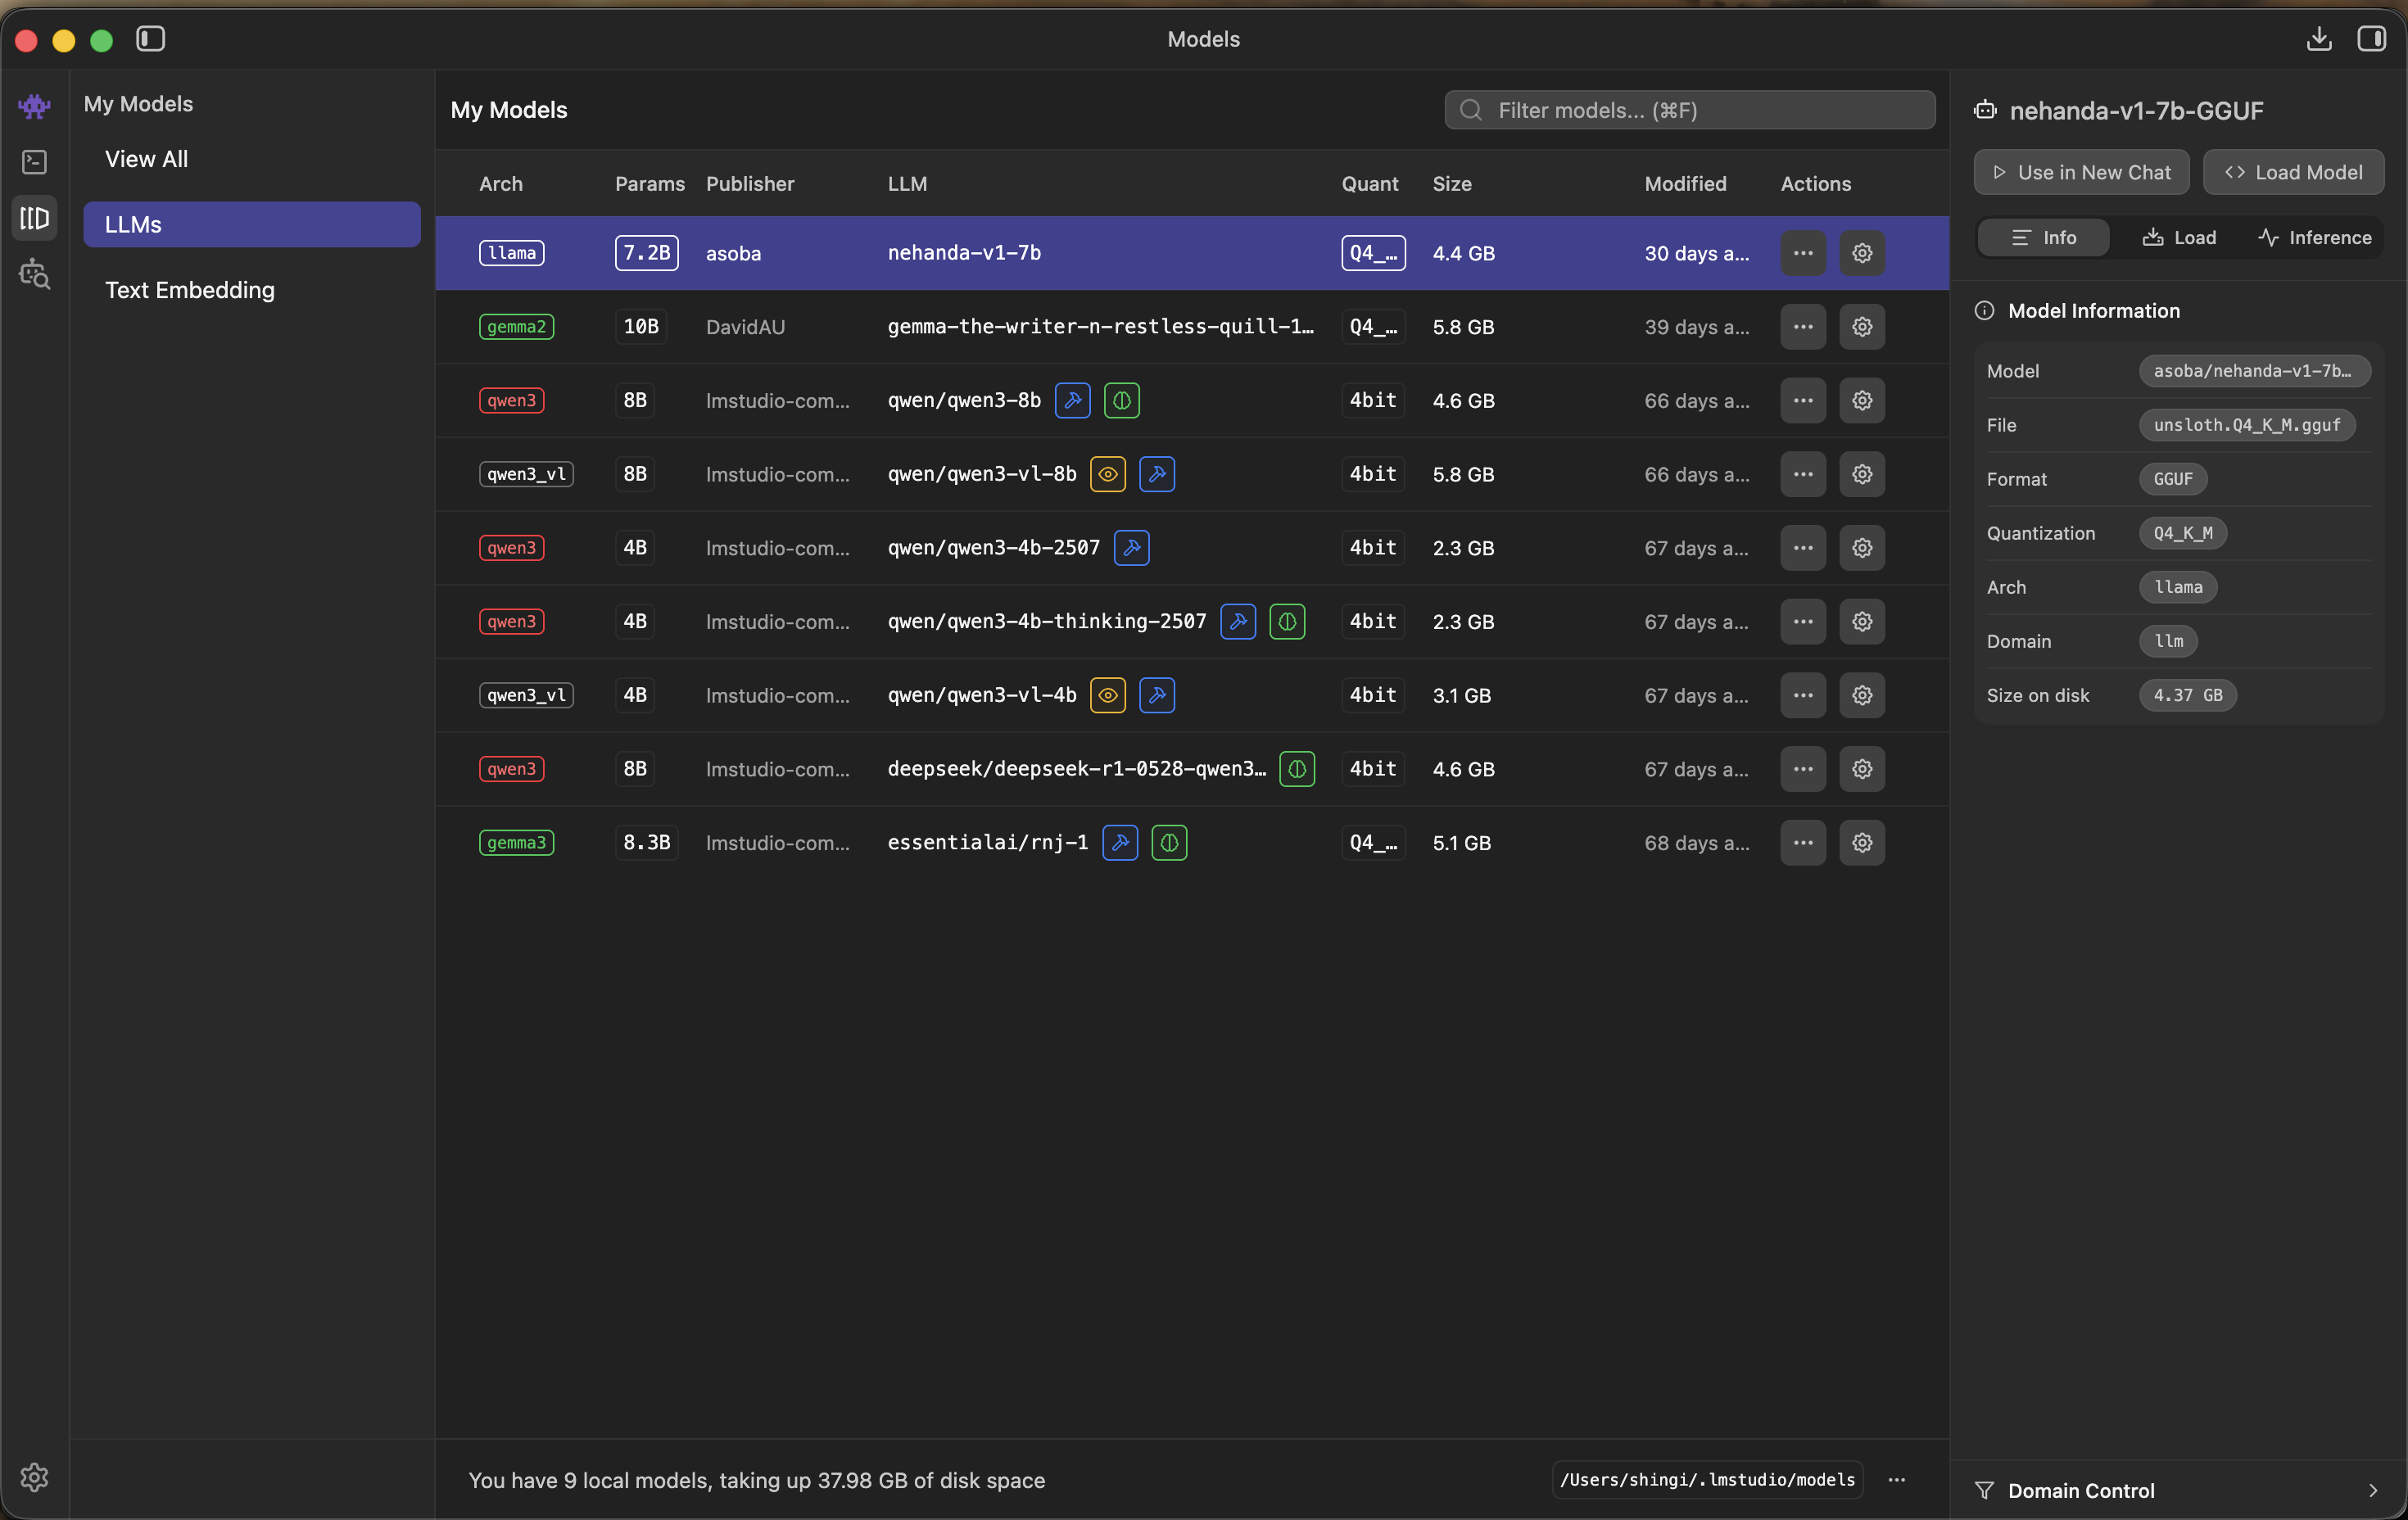
Nehanda v1 appears in your local models list after download
- Click Load Model to configure and load it.
- Set the recommended parameters:
- Context Length: 4096 tokens
- GPU Offload: 32 layers (full offload)
- Estimated memory usage: ~5 GB GPU.
- Click Load Model to start.

Load model settings — 4096 context length and full GPU offload recommended
Start a Chat
Once loaded, click Use in New Chat. Use the following system prompt for intelligence analysis:
You are an intelligence assessment specialist. Your role is to analyze
provided documents for indicators of structural shifts, regulatory
capture, and network dependencies. Always cite specific evidence from
the provided context. State clearly when information is insufficient
to draw a conclusion.
Example query:
Analyze the following report for indicators of regulatory capture
and identify any entities with undisclosed financial dependencies.
Option B: Deploy to HF Inference Endpoints
For production or team use. Runs on cloud GPUs with full API access, auto-scaling, and scale-to-zero billing.
Create the Endpoint
- Go to Hugging Face Inference Endpoints.
- Click New Endpoint and search for
nehanda. - Select asoba/nehanda-v1-7b from the Hub Models results.
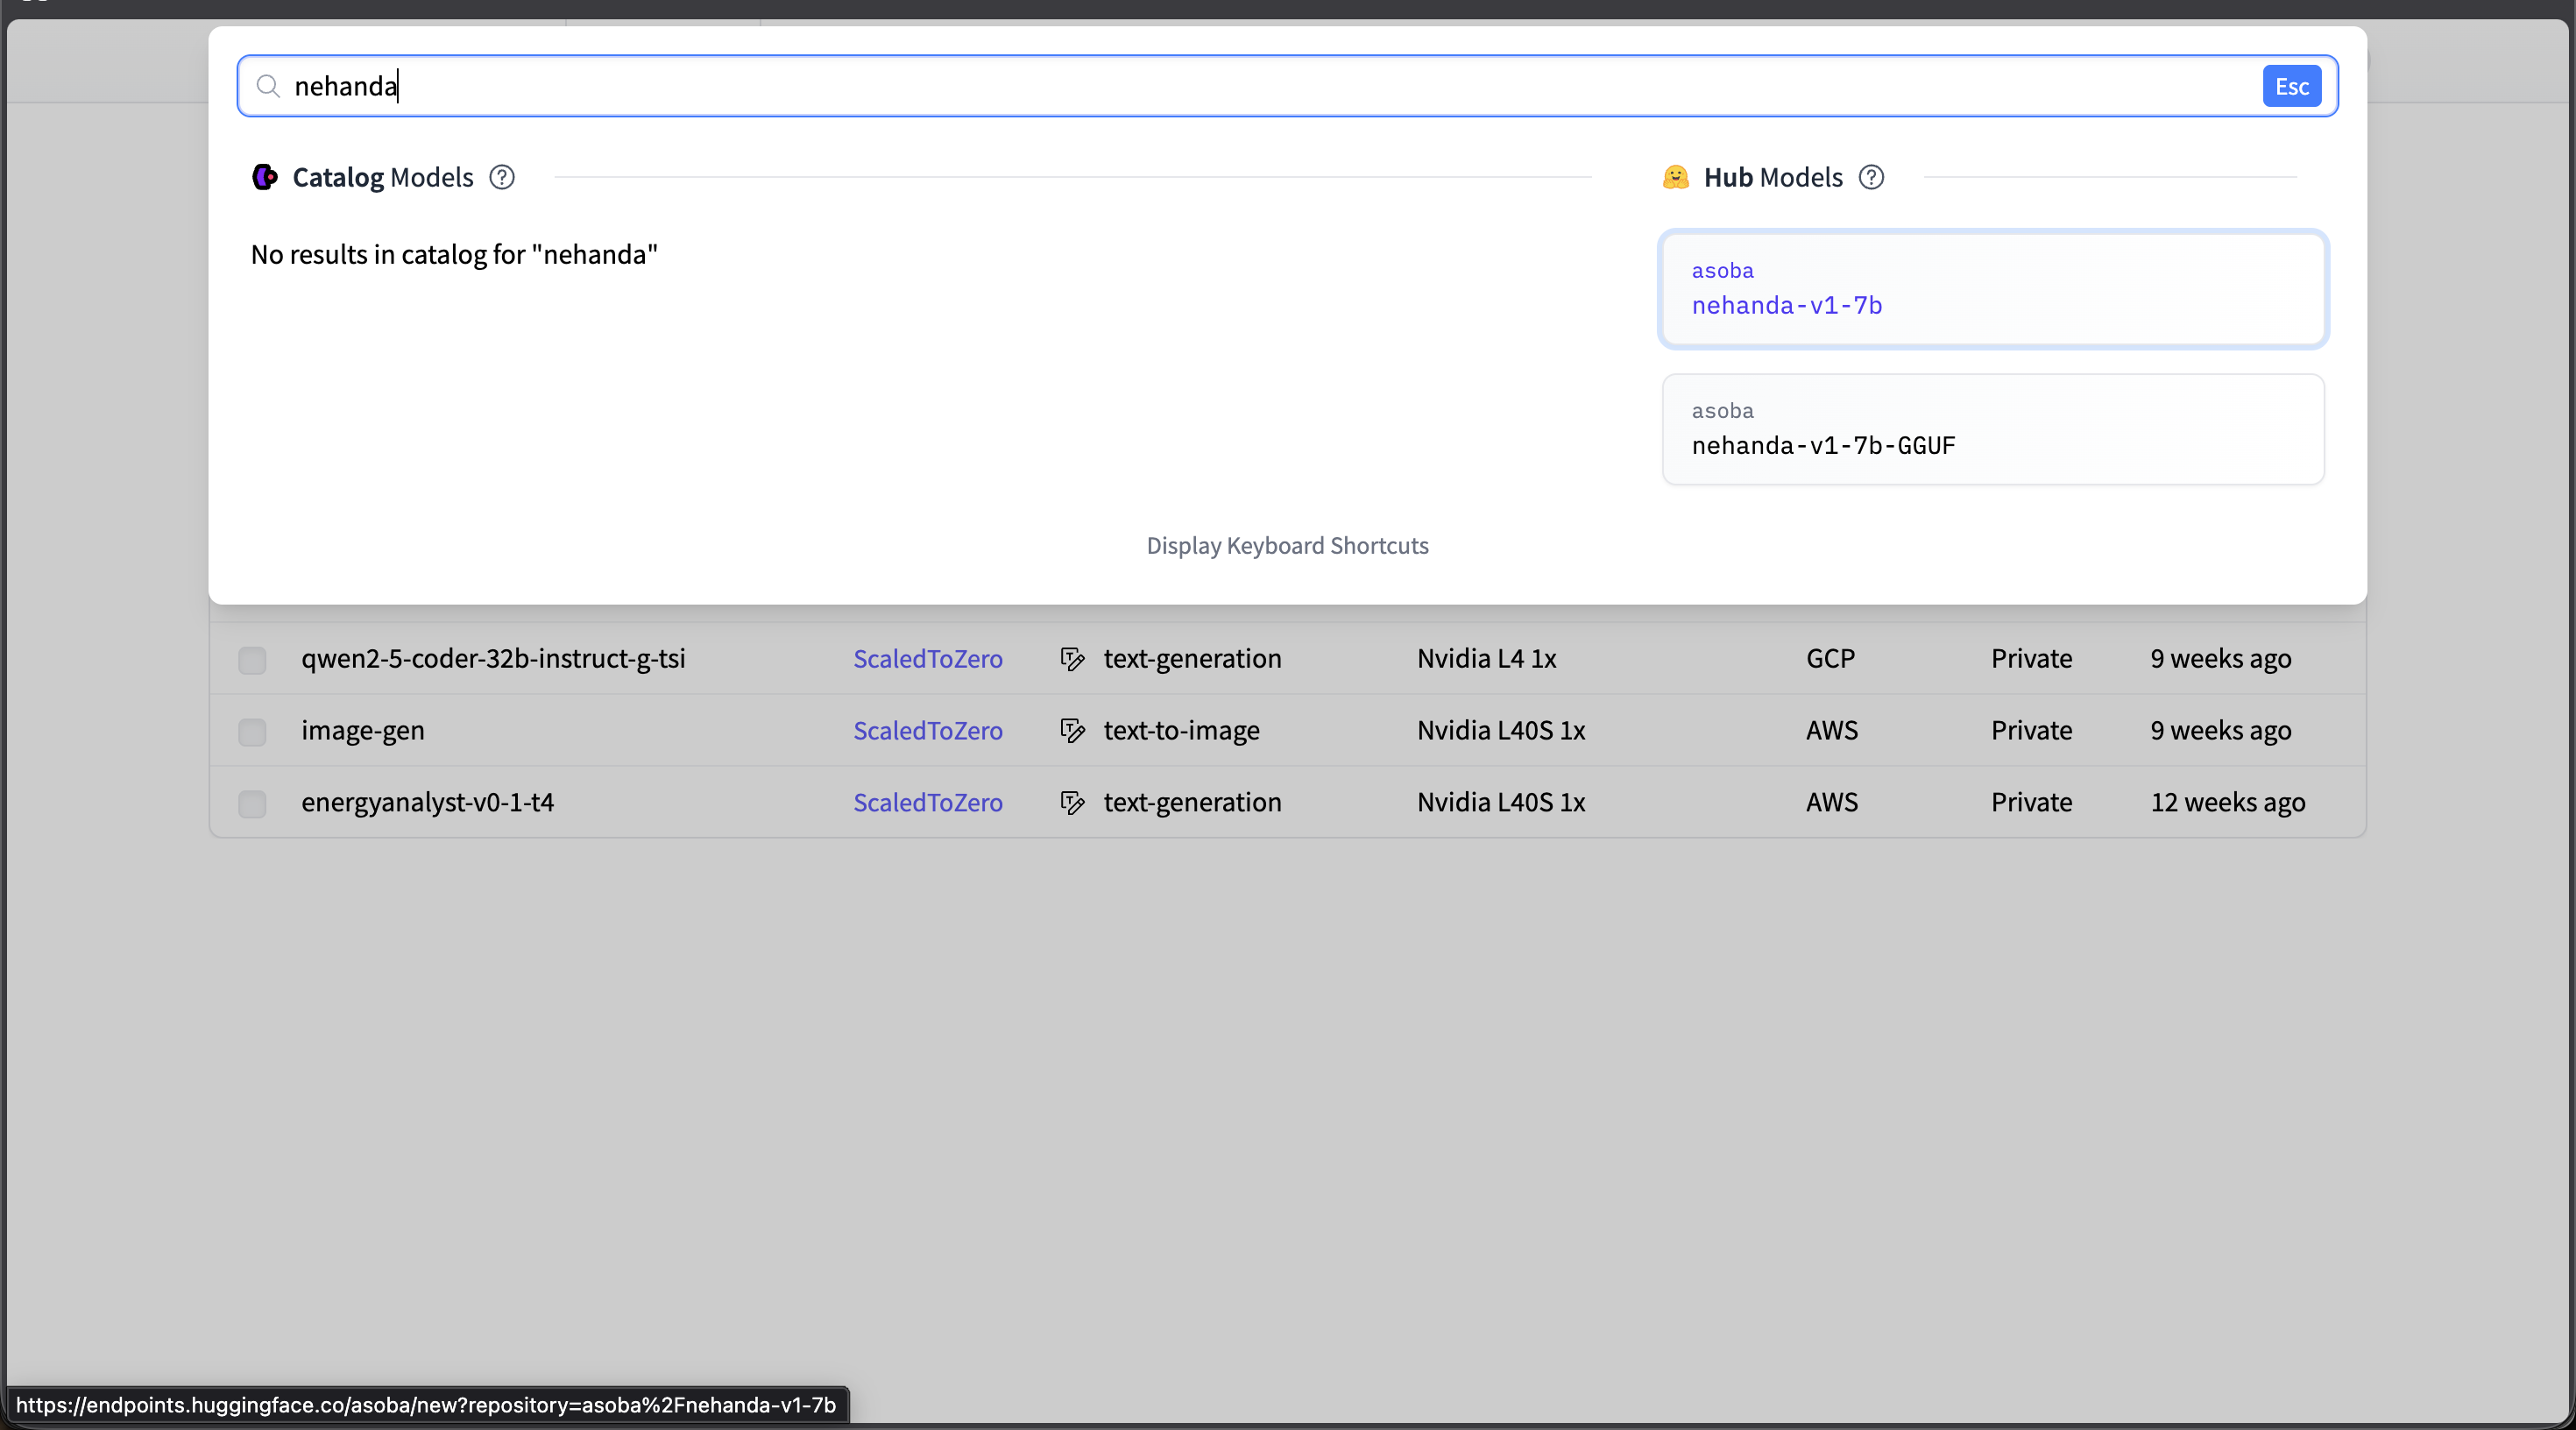
Search for "nehanda" and select asoba/nehanda-v1-7b from Hub Models
Configure Hardware
- Select the following configuration:
- Cloud Provider: Amazon Web Services
- GPU: Nvidia L40S (1x GPU, 48 GB VRAM)
- Region: us-east-1 (N. Virginia)
- Cost: ~$1.80/hour per running replica
- Authentication: Private (recommended)
- Enable Scale-to-zero — the endpoint will automatically stop after 1 hour of inactivity, so you only pay while it’s running.
- Click Create Endpoint.
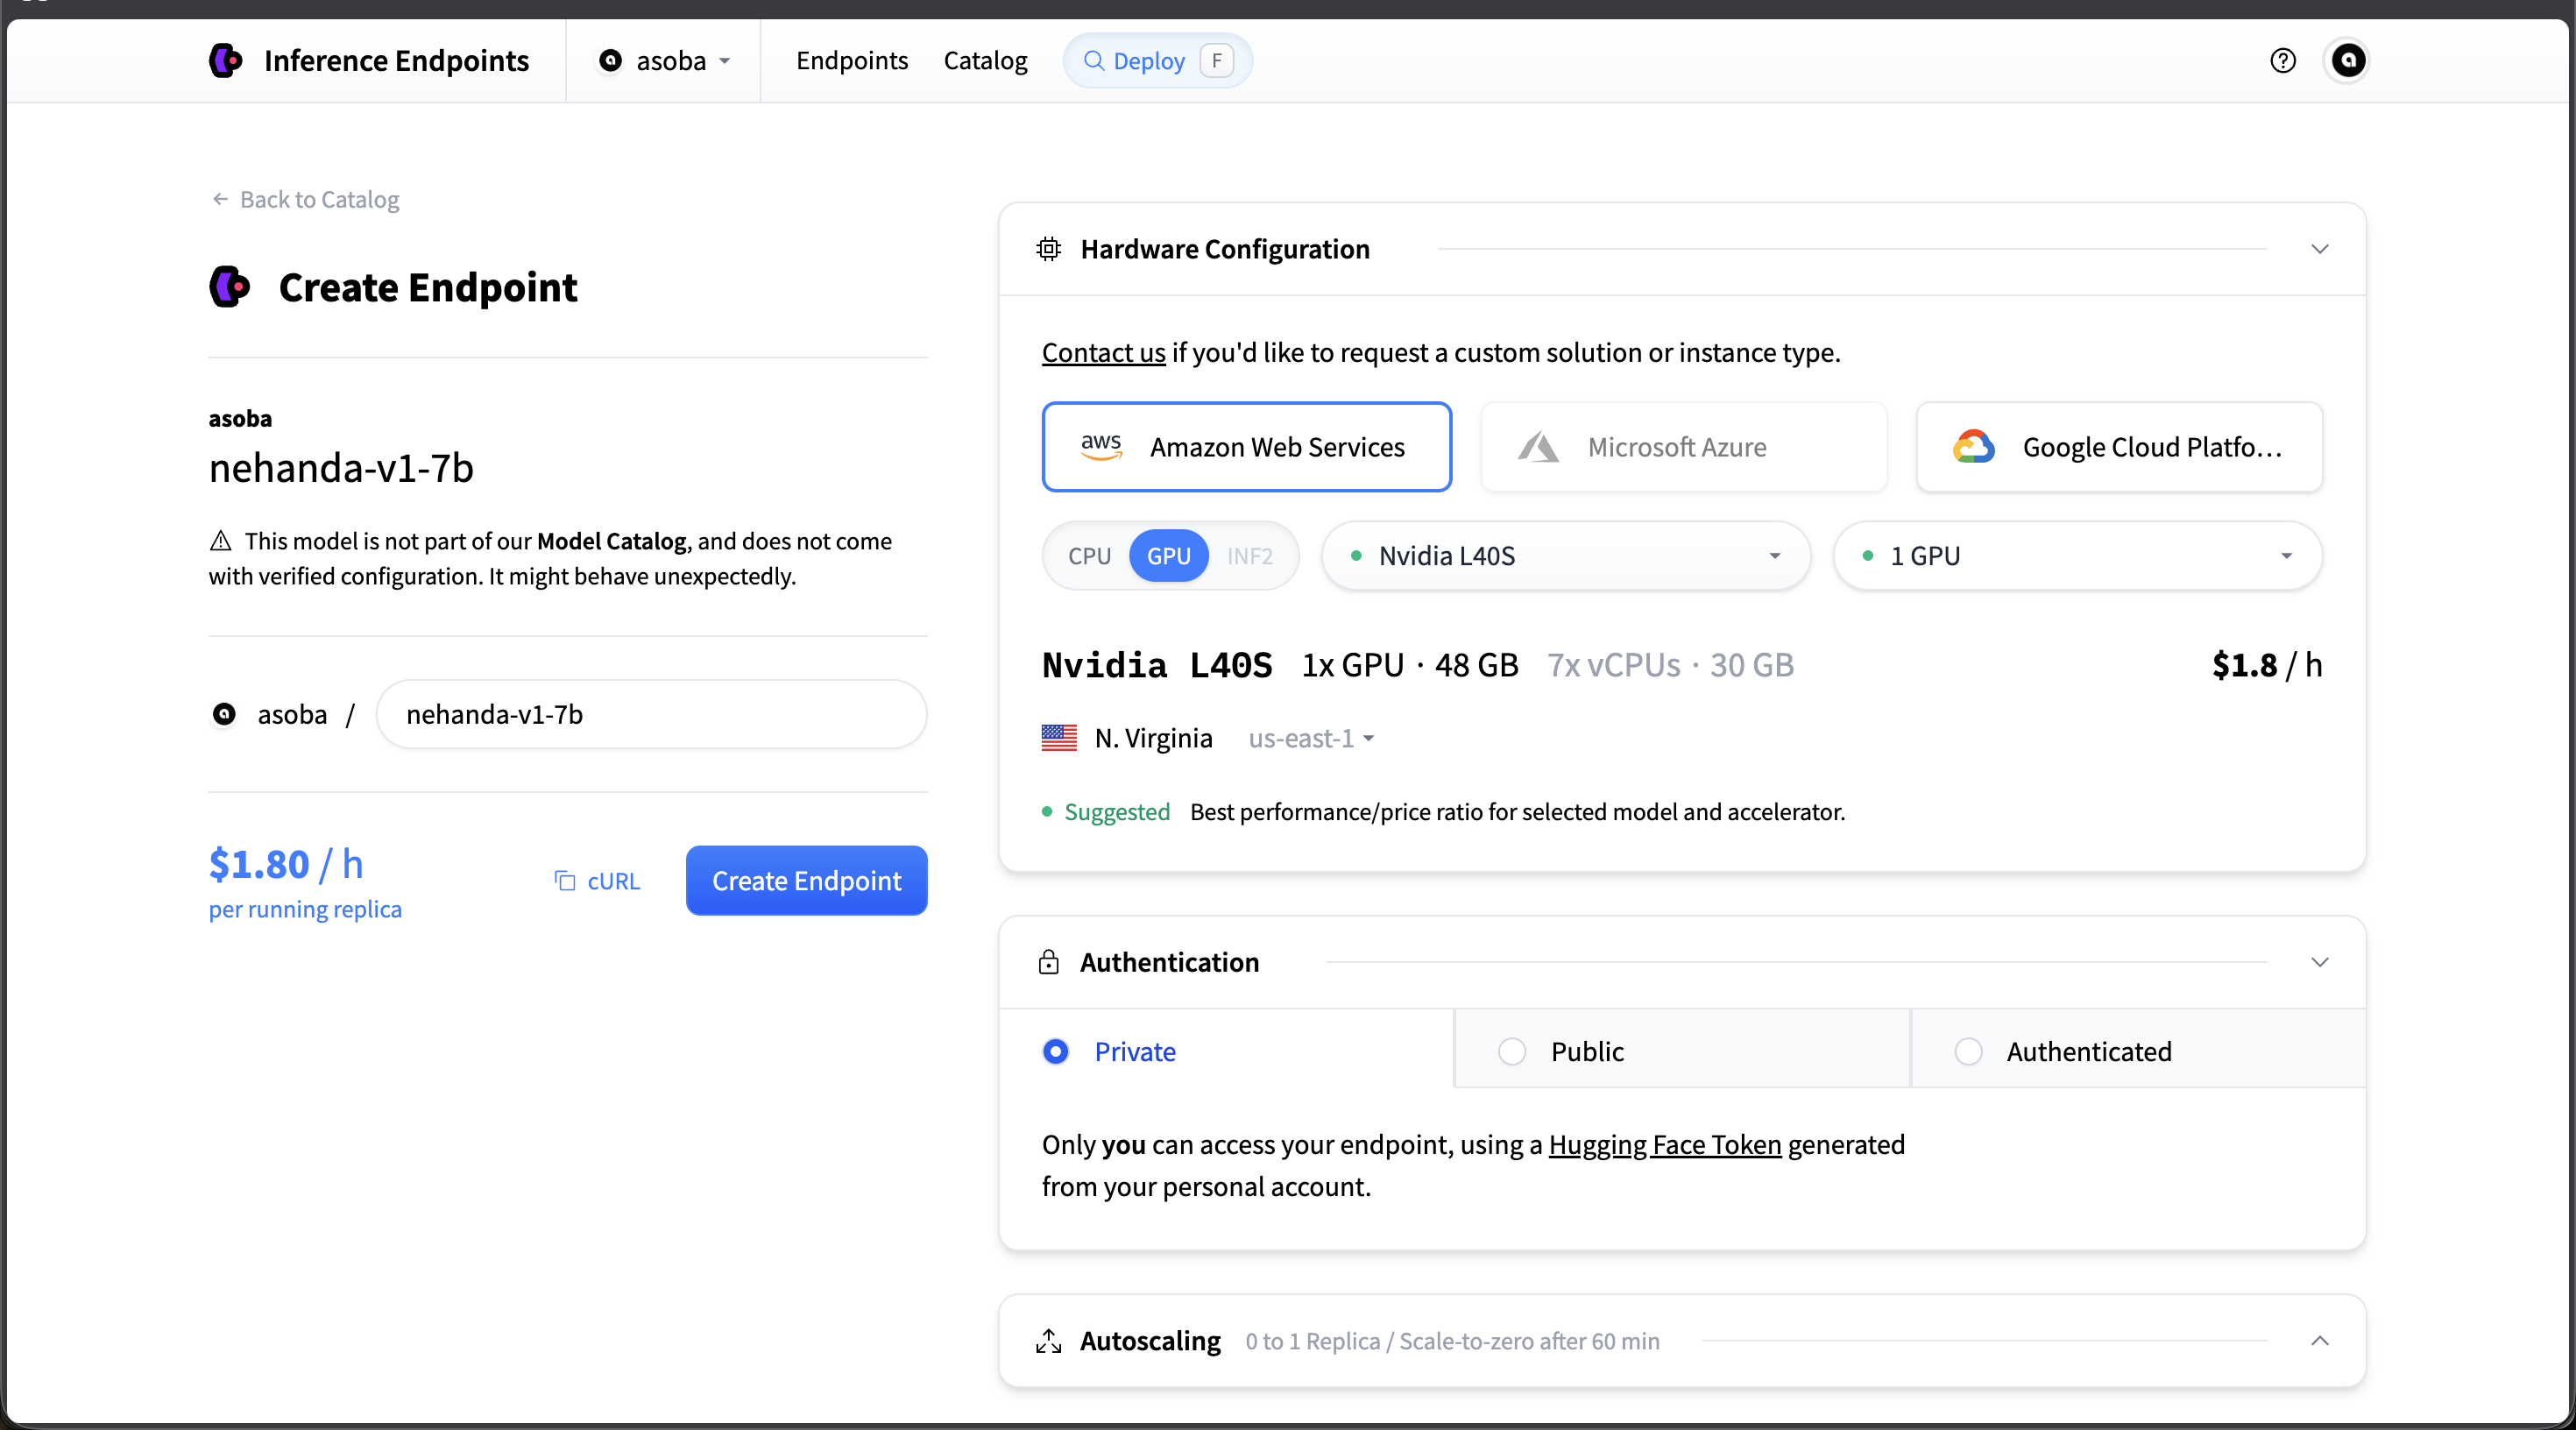
Recommended configuration: AWS, Nvidia L40S, Private authentication, scale-to-zero enabled
Wait for Initialization
- The endpoint will take a few minutes to start. The status will show Initializing while the model weights are loaded.
- Once the status changes to Running, copy the Endpoint URL — you will need it for API calls.
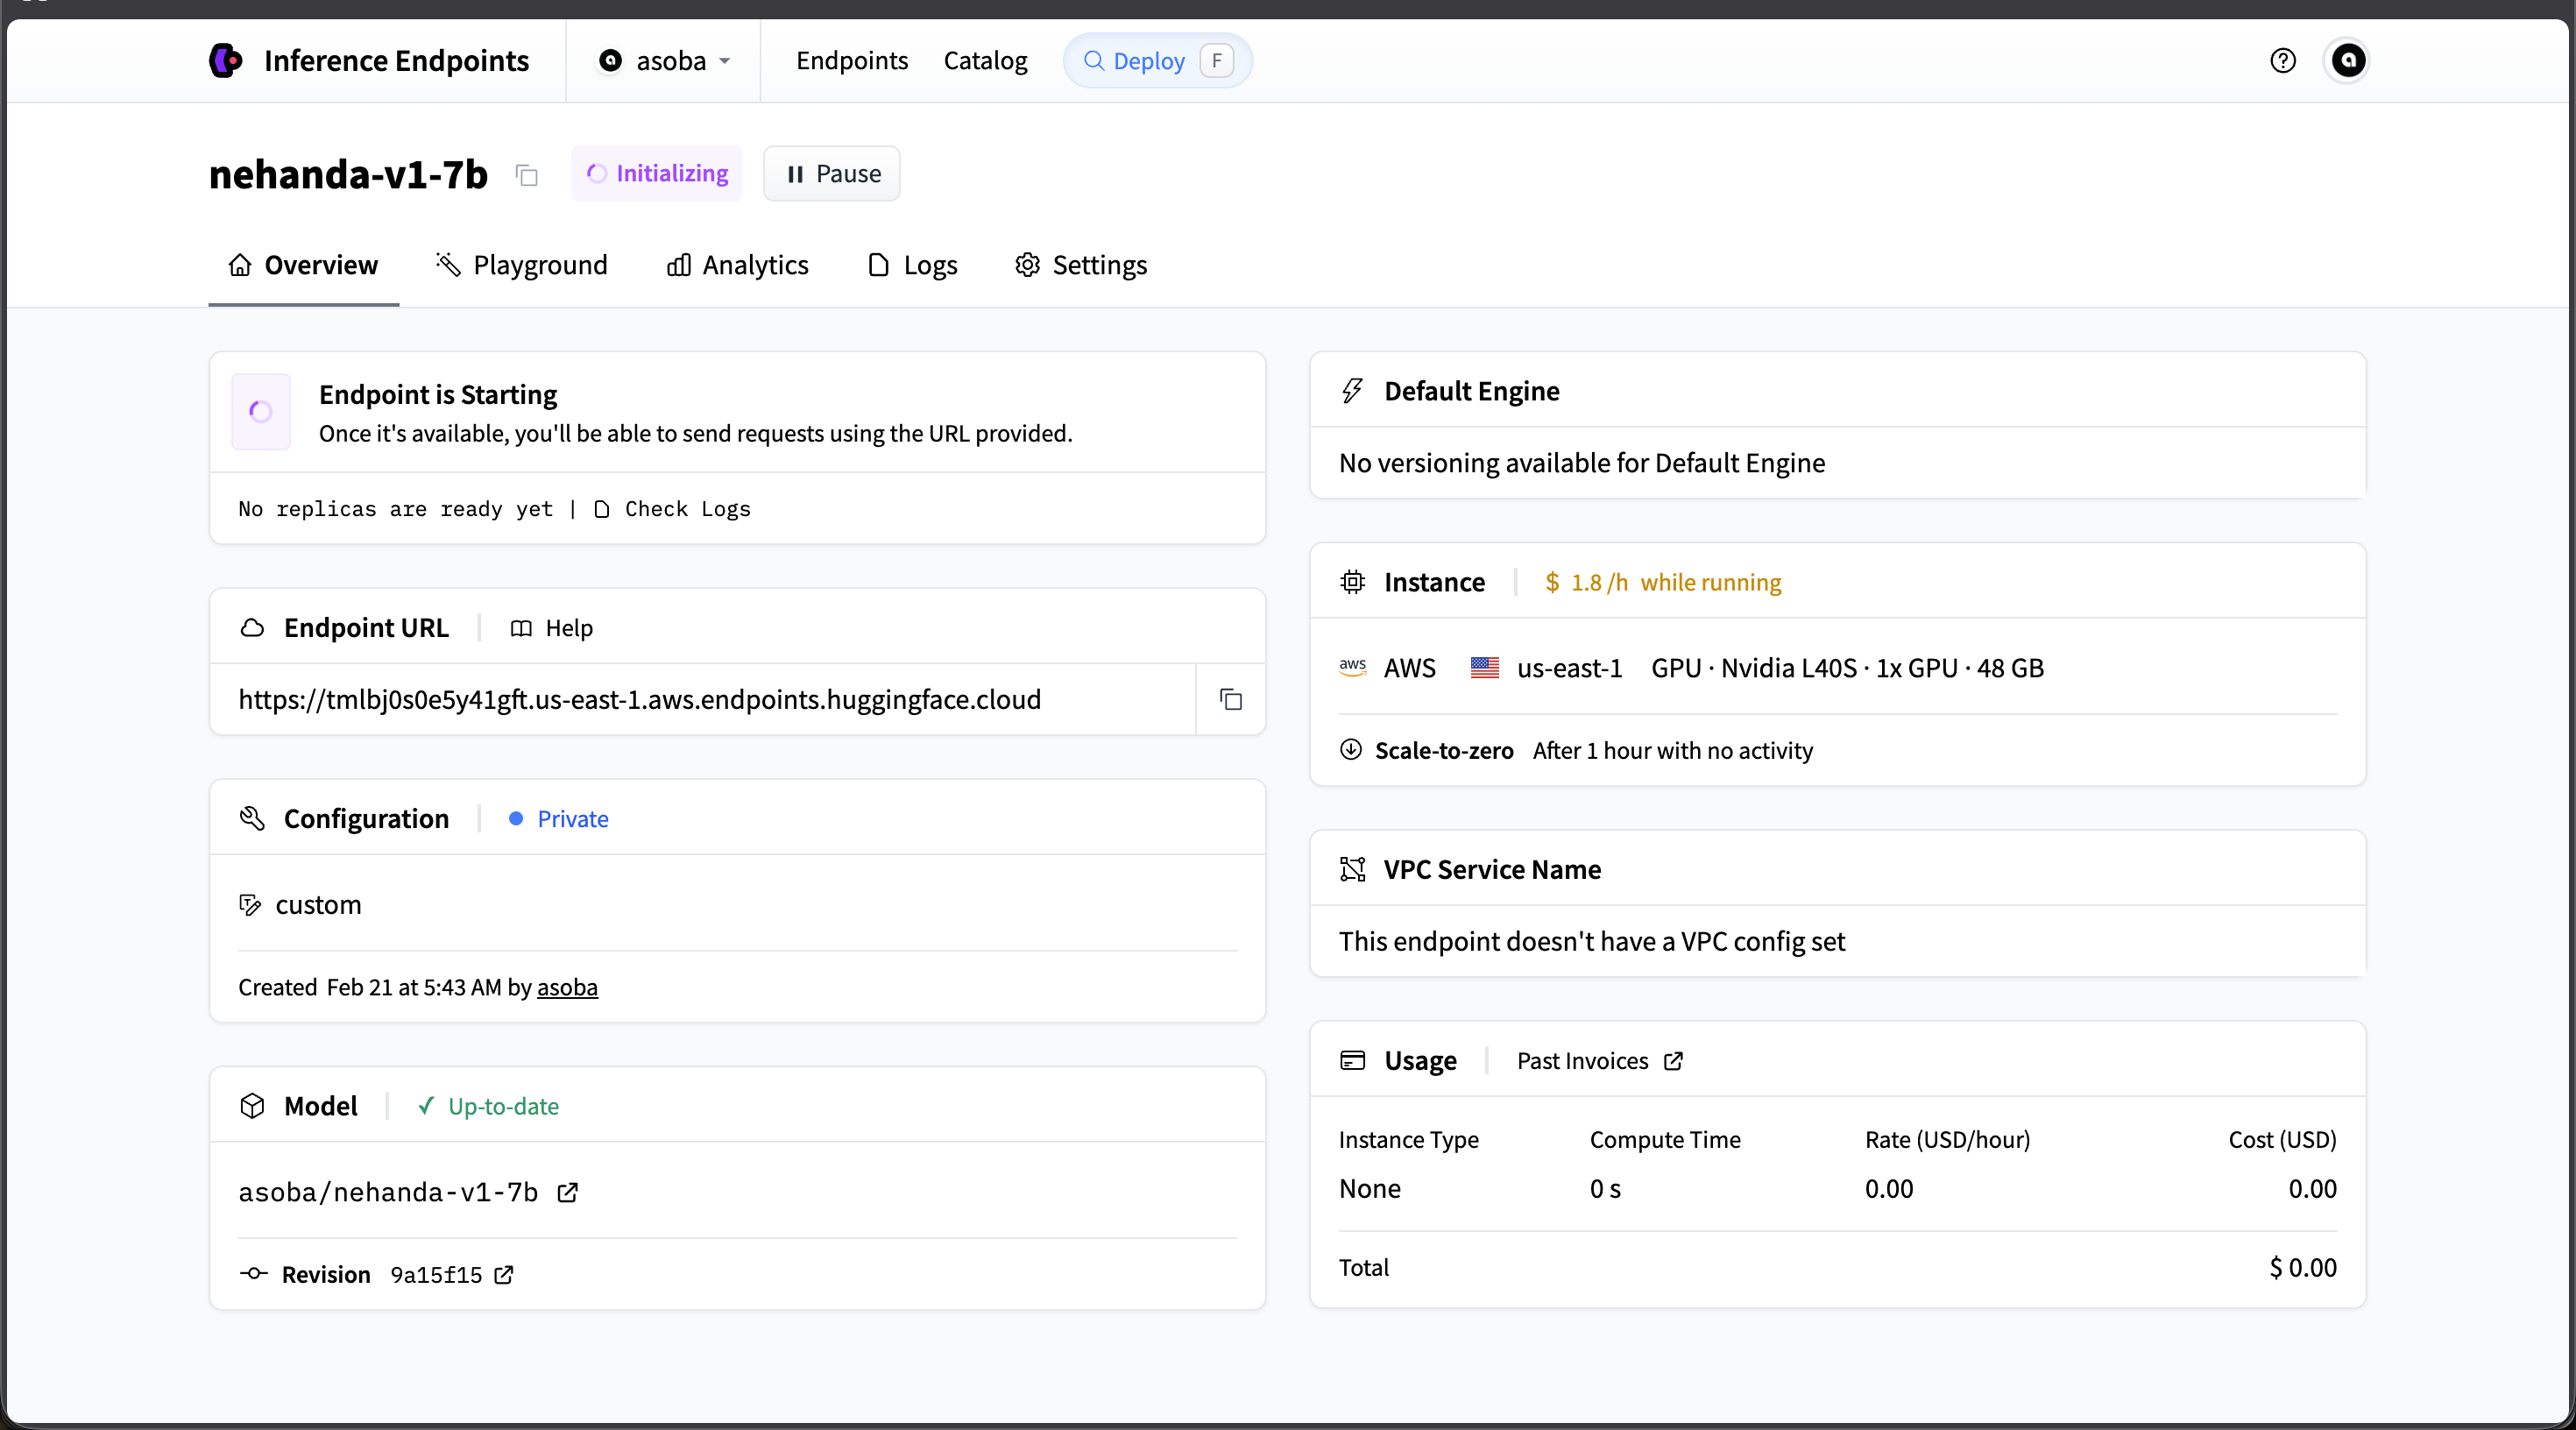
The endpoint initializing — once Running, copy the Endpoint URL for API calls
Make Your First API Call
Once the endpoint is running, you can send requests using cURL or Python.
cURL:
curl https://your-endpoint-url.endpoints.huggingface.cloud/v1/chat/completions \
  -H "Authorization: Bearer $HF_TOKEN" \
  -H "Content-Type: application/json" \
  -d '{
    "model": "asoba/nehanda-v1-7b",
    "messages": [
      {
        "role": "system",
        "content": "You are an intelligence assessment specialist."
      },
      {
        "role": "user",
        "content": "Analyze the following for indicators of regulatory capture..."
      }
    ],
    "max_tokens": 2048,
    "temperature": 0.3
  }'
Python (with huggingface_hub):
from huggingface_hub import InferenceClient

client = InferenceClient(
    model="https://your-endpoint-url.endpoints.huggingface.cloud",
    token="hf_your_token_here",
)

response = client.chat.completions.create(
    messages=[
        {
            "role": "system",
            "content": "You are an intelligence assessment specialist.",
        },
        {
            "role": "user",
            "content": "Analyze the following for indicators of regulatory capture...",
        },
    ],
    max_tokens=2048,
    temperature=0.3,
)

print(response.choices[0].message.content)
Replace your-endpoint-url with the Endpoint URL from the dashboard, and hf_your_token_here with your Hugging Face API token.
Next Steps
- Nehanda v1 — Deep dive into capabilities, training architecture, and integration with Zorora
- Research Workflow — Use Nehanda as the synthesis engine in Zorora’s deep research pipeline
- Configuration — Configure Zorora to use your local or cloud Nehanda endpoint